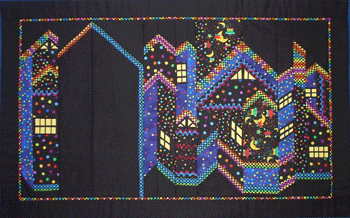
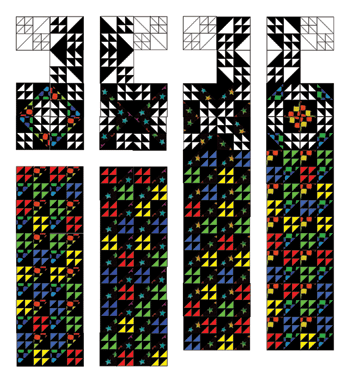
| Creating the Holiday Magic Quilt A holiday tradition my husband grew up with and one we passed along to our children, was to take a drive to see all the houses decorated with brightly colored lights. The first time we took our grandson on such a ride he said, "Like Disneyland!" I wanted to capture that magical feeling of hundreds of twinkling lights. To do that I knew I needed very tiny bits of bright colors surrounded by black. On my computer I experimented with these half square triangle blocks. They did look kind of twinkly, and they could be turned and arranged in lots of different ways. |
All images and text © Anna Grossnickle Hines 2005
|
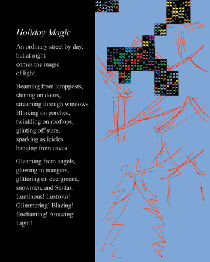
At first I expected this quilt to share a spread with another, each of them having only one page for the quilt and poem, so I was designing in a limited space. I scribbled the red lines and then began arranging the blocks to try to get a feel of roof tops, and maybe a tree in the foreground. But it wasn't working out very well, and those blocks would have to be incredibly tiny. I didn't think they could be done with foundation piecing as I could do with the tiny twisted triangles. |
|
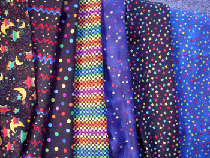
Fortunately, while doing a signing for PIECES at a quilt shop owned by friends of my mother, I discovered a whole shelf of fabric printed with small spots of bright color on black and intense blue. Just what I needed! |
|
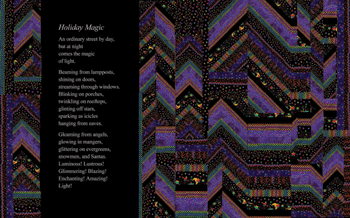
I scanned the fabric, cut and pasted it in stripes in PhotoShop, turned some of the stripes on a diagonal, and began playing with the possibilities. |

|
This would be so much easier than those impossibly small blocks, and I was happy with the look I was beginning to get. |

|
It still seamed a little cramped though in that small space. For a whole street scene it needed the full two page spread. |
|
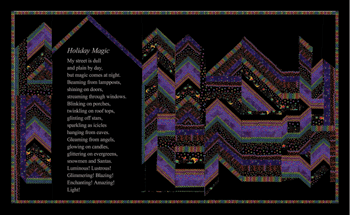
I couldn't figure out how to show the objects without losing the overall effect of all those lights. But I liked their point about making the image look more clearly like a street. Using plain black to create a base and skyline helped. |
|
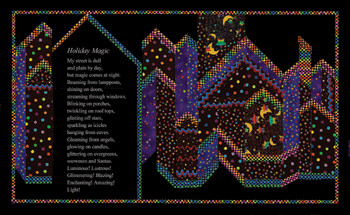
I re scanned the fabrics. What a difference that made! Now those bright dots and checks looked more like lights. I worked in more roof lines, too. The design was coming along. |
|
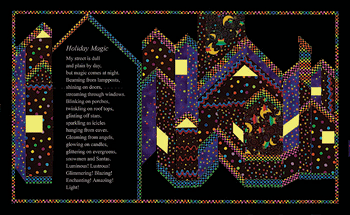
My daughter Sarah suggested that windows would help and she was right. Plain yellow window shapes were a step in the right direction, but a little too bold and overwhelming. |
|
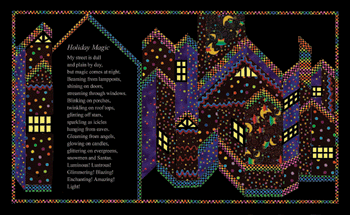
Adding the panes was the final step. Now it looks like a cheerfully lit street, just as I wanted. |
|
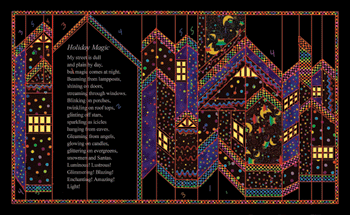
To make my pattern, I added a top layer in PhotoShop and traced the lines in red. |
|
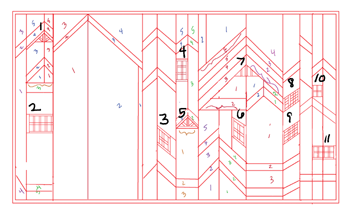
I then "hid" the colorful background, and printed out the red lines to use as my pattern. The numbers all refer to the various parts that will have to be made in different sections. I paper-pieced the whole thing, using freezer paper. |
|
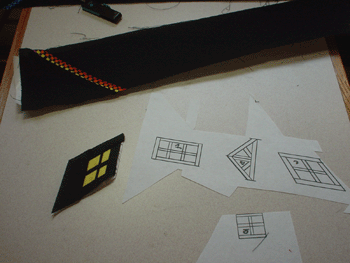
First came the little windows. I was certainly glad I wasn't trying to make those square blocks I'd started my design with. These windows were small enough. |
|
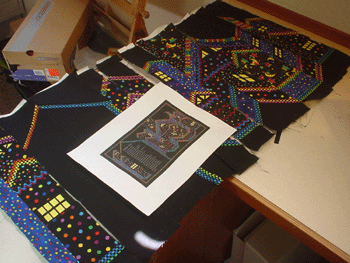
I put the quilt together in sections, making all of them before beginning to assemble the quilt. So far so good! |
|
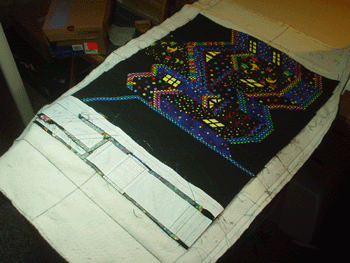
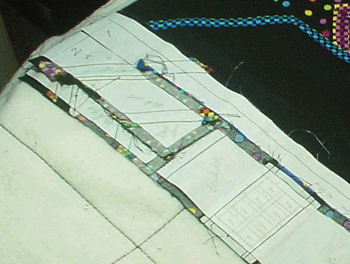
With a fabric marker I drew guidelines on my batting, Quilter's Dream Cotton in the thinnest loft. Next I basted the batting to my backing fabric. As I sewed pieced bands together, I stitched them onto the batting and backing, just as I had done with the quilts made with narrow strips. |
|
I kept the paper backing on the pieces until I had sewn one side to the backing, then removed it before pressing the strip open and pinning the next strip. Designing this quilt took a good deal longer than actually making it. |
|
But it did get made and usually gets an audible "Aah!" from people who see it. |
