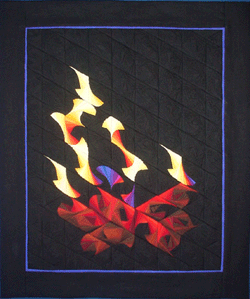
| Creating the Fireplace Quilt Since the Candle and Fireplace quilts are on facing pages, I thought it might look nice to use the same quilt, flipped and turned, for both. |
All images and text © Anna Grossnickle Hines 2005
|
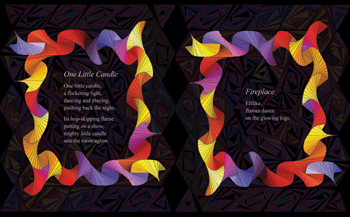
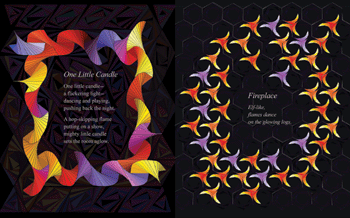
But I was also intrigued by the quilts made with hexagons in Barbara Kaempfer's book, LOG CABIN WITH A TWIST. Barbara's quilt, "Vento Versata", and "Ohne Titel", by Gisela Pugni-Spatz of Germany, had shapes that seemed to swirl and dance, "elf-like" as I say in my poem. I decided to try to create a frame-like design to go with the one I had done for Candle. |
|
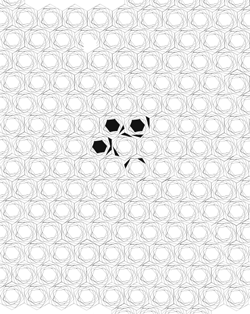
That would mean working very small. I created a template of hexagons in PhotoShop. I should have known this was an insane idea right then. Just looking at all those hexagons can send me into a panic now. Each one has thirty little pieces swirling around the center! I did make one. That part wasn't too hard, but sewing them together would have been another matter. At the time though, I was foolishly undaunted and began filling in the black spaces. |
|
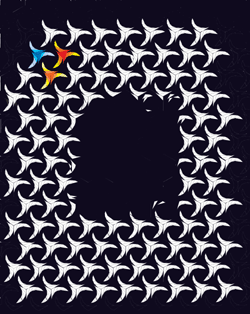
Then I started filling in the colors, but realized immediately that I would want to try lots of possibilities before settling on one, and even one was going to take a long time. |
|
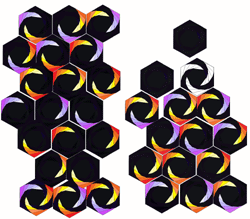
So I created "blocks". First I made the black and white one, then copied it over and over and filled the white spaces with colors. Then I could drag whichever blocks I selected into my design and move them around as I wished. |
|
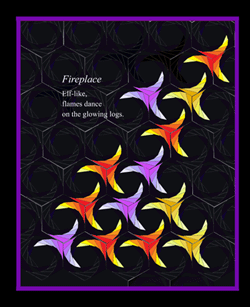
Of all the ways I tried, this is the one I liked best. |
|
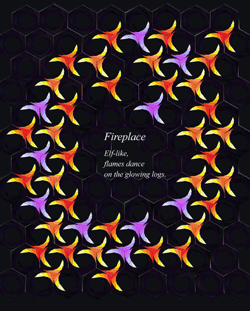
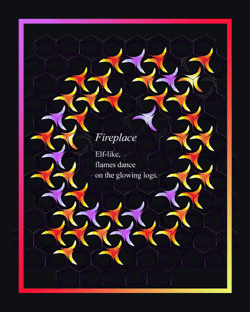
When the editors said they wanted all the quilts to have frames around them I tried just putting a frame around this design. That didn't work at all. |
|
I liked the elf-like swirls, but they didn't really look anything like a fire in a fireplace. And they would be impossible to sew. Maybe if I worked larger with fewer hexagons... |
|
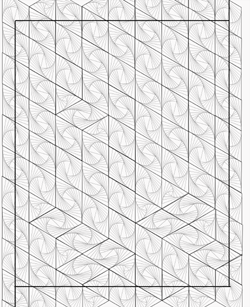
Better, but still not right. At that point I completely redesigned the Candle Quilt, using triangles and parallelograms and creating a design that really looked like a candle. It was time to go back and start from scratch with the Fireplace, too. This is my final combination of blocks for the Fireplace, but it is misleading to begin here. |
|
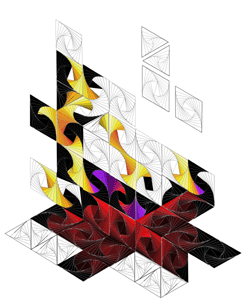
I built this design piece by piece by dragging the triangle and parallelogram "blocks" into the design and dropping them in place. I would then fill the spaces with the colors, one by one. |
|
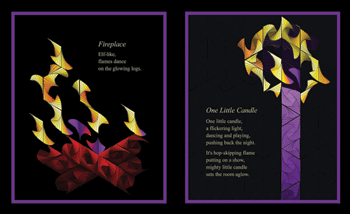
The black background and border complete my design. It goes well as a companion with the candle design. |
|
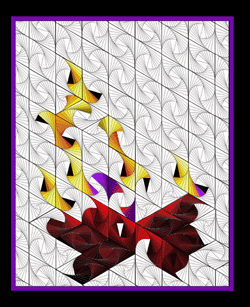
For this quilt I print two guides; one with the color.... |
|
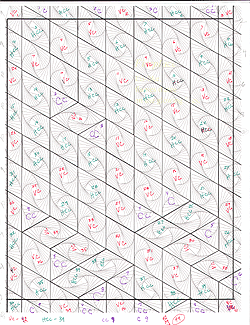
I and the other which on which I indicate which blocks to use. I count them. I will need 42 clockwise parallelograms, 39 counter clockwise parallelograms, 9 clockwise triangles and 9 counter clockwise, a total of 99 blocks. I print them out on sheets of Fundation™. |
|
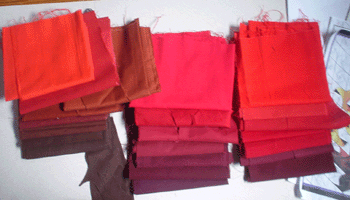
For this quilt I will need lots of reds, from very dark to very bright. |
|
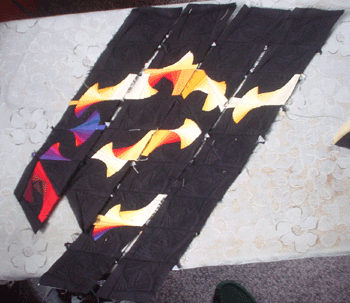
Fireplace was my third quilt using the twisted log cabin technique, so I am more experienced. I know from the beginning to mark the colors on my foundation pieces as I did with the Solstice quilt, and to be careful to use a foundation piece that twists the right way, as I learned to do with the Candle quilt. The sewing goes quite smoothly this time. The only new thing is that since eight of my parallelograms are horizontal (see the designs above) I cannot sew this quilt in vertical strips. That isn't a problem though, because they can be sewn diagonally. |
|
This is the last corner, the last blocks of solid black to complete the quilt. I had purchased four yards of black fabric to do this and the Candle quilt, sure that it would be more than enough. That little piece of black on the white paper is all that is left! |
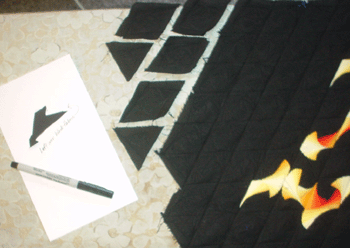
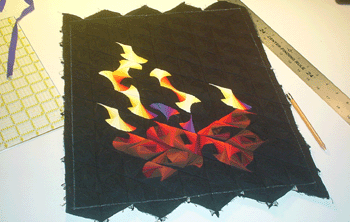
|
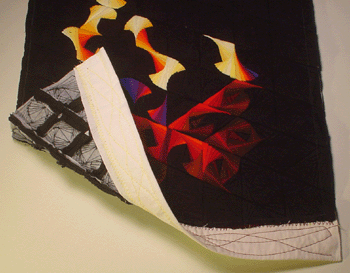
Then I make the "padding" as I did for the Solstice quilt. I cut a strip of batting the right width, wrap a piece of muslin around it making one edge a little wider than the batting. I do a quick quilt job on my sewing machine. Nothing fancy. It won't show. |
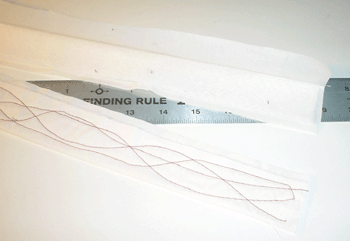
|
Butting the edges of the batting and quilt together, I baste the wide edge of the muslin to the back of the quilt. Then I do a wide zig zag stitch on the front right along the joint. |
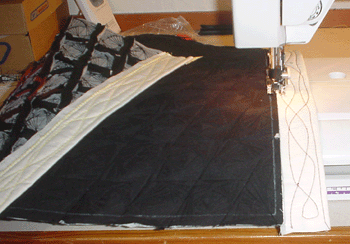
|
I'll do the same thing along both sides, add my backing fabric, thin blue, and wide black borders and I'm done. |
|
Now I only have two quilts to go! Farolitos is next. |
