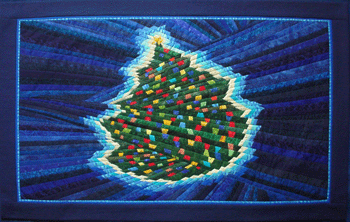
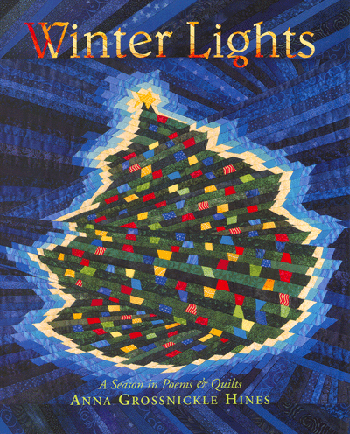
| Creating the Christmas Tree Quilt My first notes about a Christmas tree quilt say "Tree is dark green swirling (twisted triangles or log cabin) with dozens of points of light--or maybe crosswise strip piecing." What I ended up with is a sort of "twisted strip piecing". I think of it as a dancing tree--very happy! |
All images and text © Anna Grossnickle Hines 2005
|
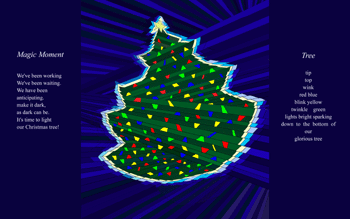
I hadn't intended to use borders when I made my first designs, but the editors felt that was a mistake. They liked the borders in PIECES and wanted me to keep that feel. They were right. Borders help keep the quilty feeling of these illustrations. |
|
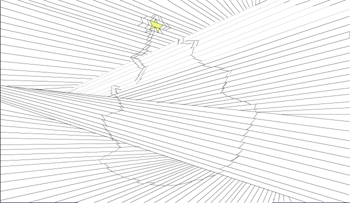
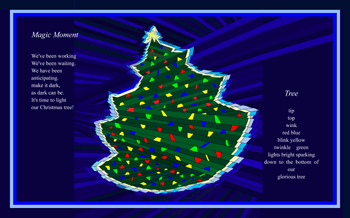
I was concerned about the text going over patterned material, but after the designer assured me that it would not be a problem as long as I kept those colors of a pretty even tone I decided to extend the stripes to the borders. I didn't take time to do it on the computer though--just a little test. The light blue border seems to liven the design. |
|
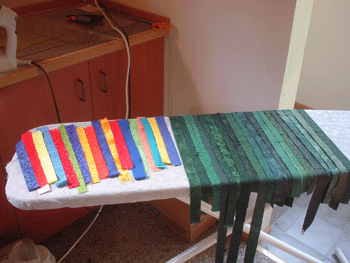
First step, cut the strips for the tree and its lights. |
|
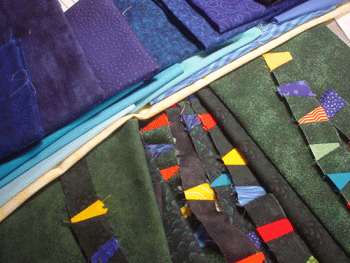
I started by sewing strips of green and brights for the tree. Here I'm trying the blue background colors, the light blues and pale yellow halo colors and the tree colors. I think it will work. |
|
I drew a full size pattern to use as a guide. The tree is constructed in four sections. I traced each section on freezer paper. |
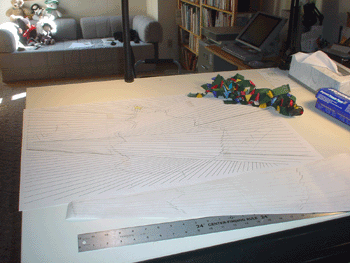
|
More checking and thinking about just how to do this. I made this quilt this largely by trial and error. For Lucia and Solstice I made a few notes in case I wanted to make patterns later. As I worked on this quilt, I decided to forget about patterns. I'd rather make quilts! My freezer paper pattern for one section is lying on the blue fabrics. |
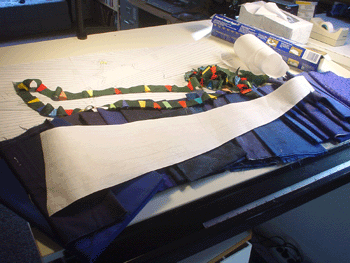
|
I sewed the halo colors and then the blue backgrounds onto my tree strips, pressed one onto the freezer paper, put the other right sides together with that one, turned to the paper side and sewed along the line. So far so good. I soon ran into trouble though, because I was working with one inch strips, but the spaces on the freezer paper tapered. I found that unless I marked my seamline with pins before placing the next strip, I often ended up with too little material to press right side up and fill that space. I decided that if I were to do this again, I would paper-piece each strip so I would have more control. |
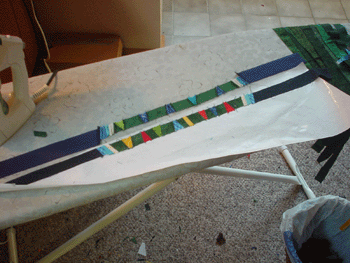
|
I also found that my random placement of the "lights" didn't always work out. I didn't want them to be all even but when several ran together, or colors seemed to clump, it bothered me. Instead of making random strips I started making each strip as I attached them, checking and selecting my colors and positions so the new strip would work well with the one to which it would be sewn. |
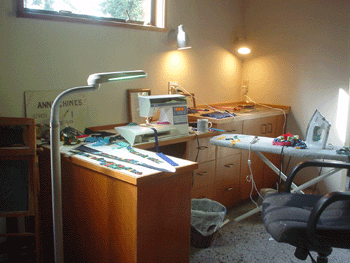
|
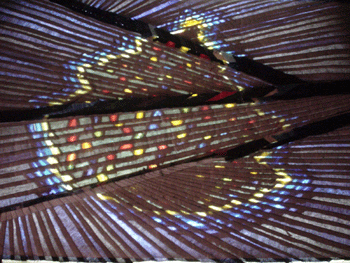
After making all four sections I sewed them together. This view from the back shows the sections clearly--and I rather like the way it looks a bit like a stained glass window. It is on my light box. At this point I was terribly disappointed in my star and considered redoing that part. It looked rather squashed to me. But my friend Betsy held my hand and kept me from doing anything immediately. She said she liked it and I got over it. It may be squished, but it goes well with the dancing tree. |
